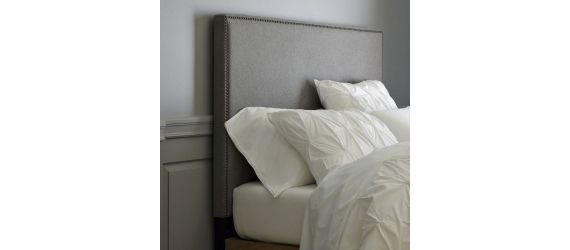
HOW TO MAKE AN UPHOLSTERED HEADBOARD (Scroll Down For Product Range)
ADD SOME WOW FACTOR TO YOU BEDROOM WITH A DIY PADDED OR DIAMOND TUFTED HEADBOARD !
Scroll to foot of page for products.
Making your own headboard is one of the easiest upholstery tasks anyone can undertake. Why not try to make a the simple padded headboard (instructions Below) or be a little more adventurous and make a deep buttoned diamond tufted headboard. WHY CHOOSE US: TRUSTPILOT RATE US EXCELLENTThe Foam Shop evolved from a small family run upholstery business in 2007. Operating from a small back street corner shop, the business has grown out of all recognition We have grown to become one of the largest, most competitive retail suppliers of foam and Foam Cut to Size in the UK. Our rapid growth over the last 10 years is down to our state of the art cutting facilities with CNC and profile cutting capability,highly trained cutting staff who produce Foam Cut to Size with the emphasis on attention to detail and quality control.
Once you have got your wood cut to size You are going to need a few other bits n bobs.QUICK LINKS TO PRODUCTS LISTED BELOW
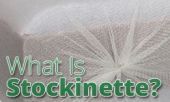
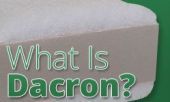
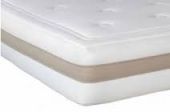
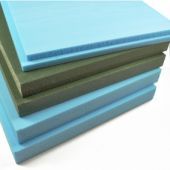
Foam (let us cut it to size for you)Dacron Polyester Batting Glover Bond Buttons FabricA STEP BY STEP GUIDE
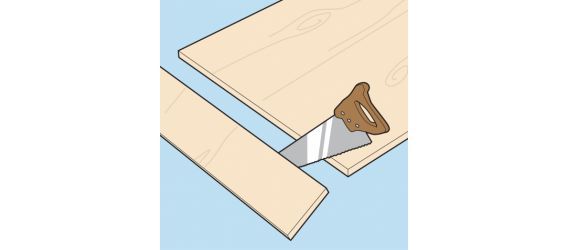
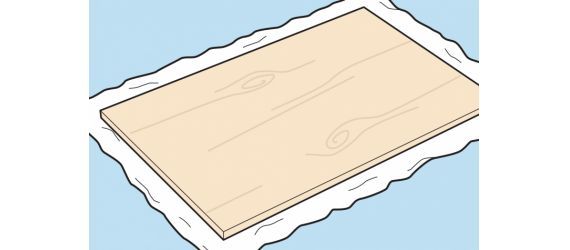
STEP #1 Get your plywood cut to size or cut it yourself with a saw.
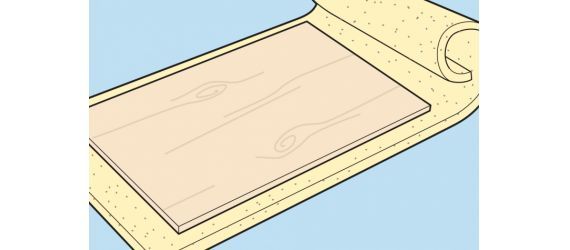
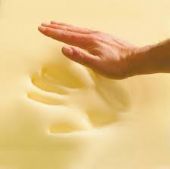
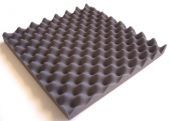
STEP #2 Lay the foam on the floor and place the wood on top . Trace the outline of the board onto the foam, then cut the foam with a utility knife.However for best results let us cut it to size for you.
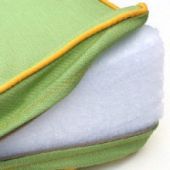
STEP #3 Repeat Step 2 with the Dacron batting, adding a few centimetres / inches on each side so that you can pull the batting over the edge of the plywood when you secure it. Click here for dacron .
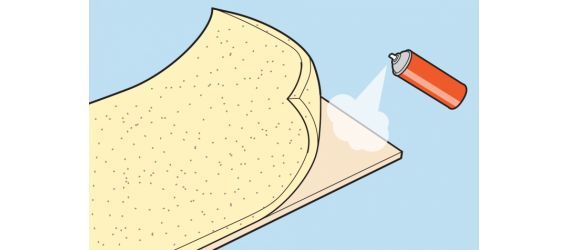
STEP #4 Glue the foam to the plywood with spray adhesive. It will only take a few seconds to dry.
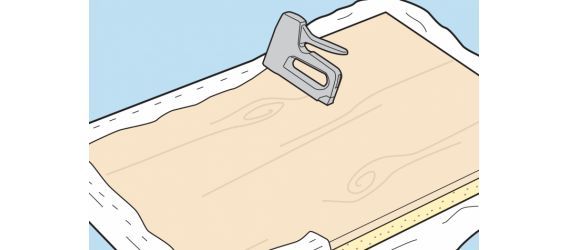
STEP #5 Centre the Dacron batting on top of the foam, then turn the headboard over so that the batting is on the floor. Attach to the backside of the plywood with the staple gun, pulling it tautly as you go.
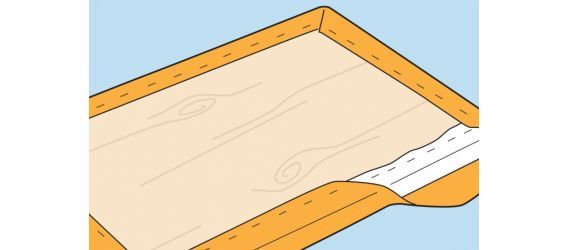
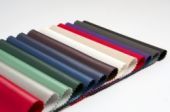
STEP #6 Flip the headboard over again so that it's right-side up. If your fabric has any wrinkles, iron it, then centre it over the headboard, using clamps to hold it in place, if necessary. Flip the headboard back so that the fabric is on the floor. Starting at the top centre and pulling tightly as you go, staple the fabric to the wood. When you reach the corners, fold the fabric neatly, as you would wrapping paper. Once the entire headboard is covered, trim any excess fabric.
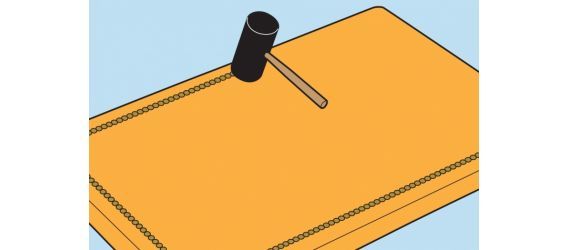
STEP #7 Flip the headboard right-side up again. You can add a little flourish if you want. We have suggested nail-head trim Line up the nail-head trim in a straight line, starting from the bottom of one side and working your way up. Tap in the nail heads with the mallet.
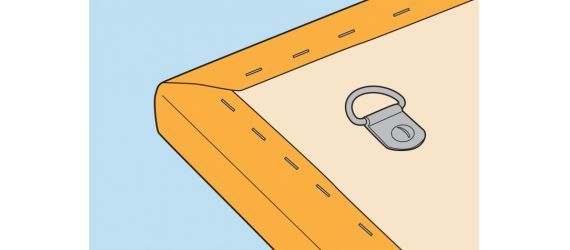
STEP #8 Attach your headboard to the wall by screwing two D-rings to the back of the plywood and hanging them from screws or hooks in your wall.
EXTRA TIP
If you are feeling more adventurous you could have marked out and drilled some holes in the Plywood at STEP #1 then at STEP 7 from the back of the plywood push a long buttoning needle through the foam a fabric and could have shallow buttoned your work For the even more adventurous why not try diamond tufting Click this YouTubelink for more help.